

A little bit of history
The moka pot is one of the world’s most famous brewing devices that can be found in almost every home. It brews very intense, rich in flavour and aroma coffee. It’s the best device to make espresso-like coffee at home.
Also known as a stovetop espresso maker, moka pot was invented by an Italian engineer named Alfonso Bialetti in 1933. Bialetti was inspired by the way laundry machines worked: it was using steam pressure to force water through clothes for cleaning. He saw an opportunity to adapt this concept for coffee brewing.
Bialetti’s goal was to create a simple, efficient and affordable device that would be able to produce concentrated coffee. It was a success, and his “Moka Express” gained popularity quickly. The design remained largely unchanged over the years, with minor updates and improvements.
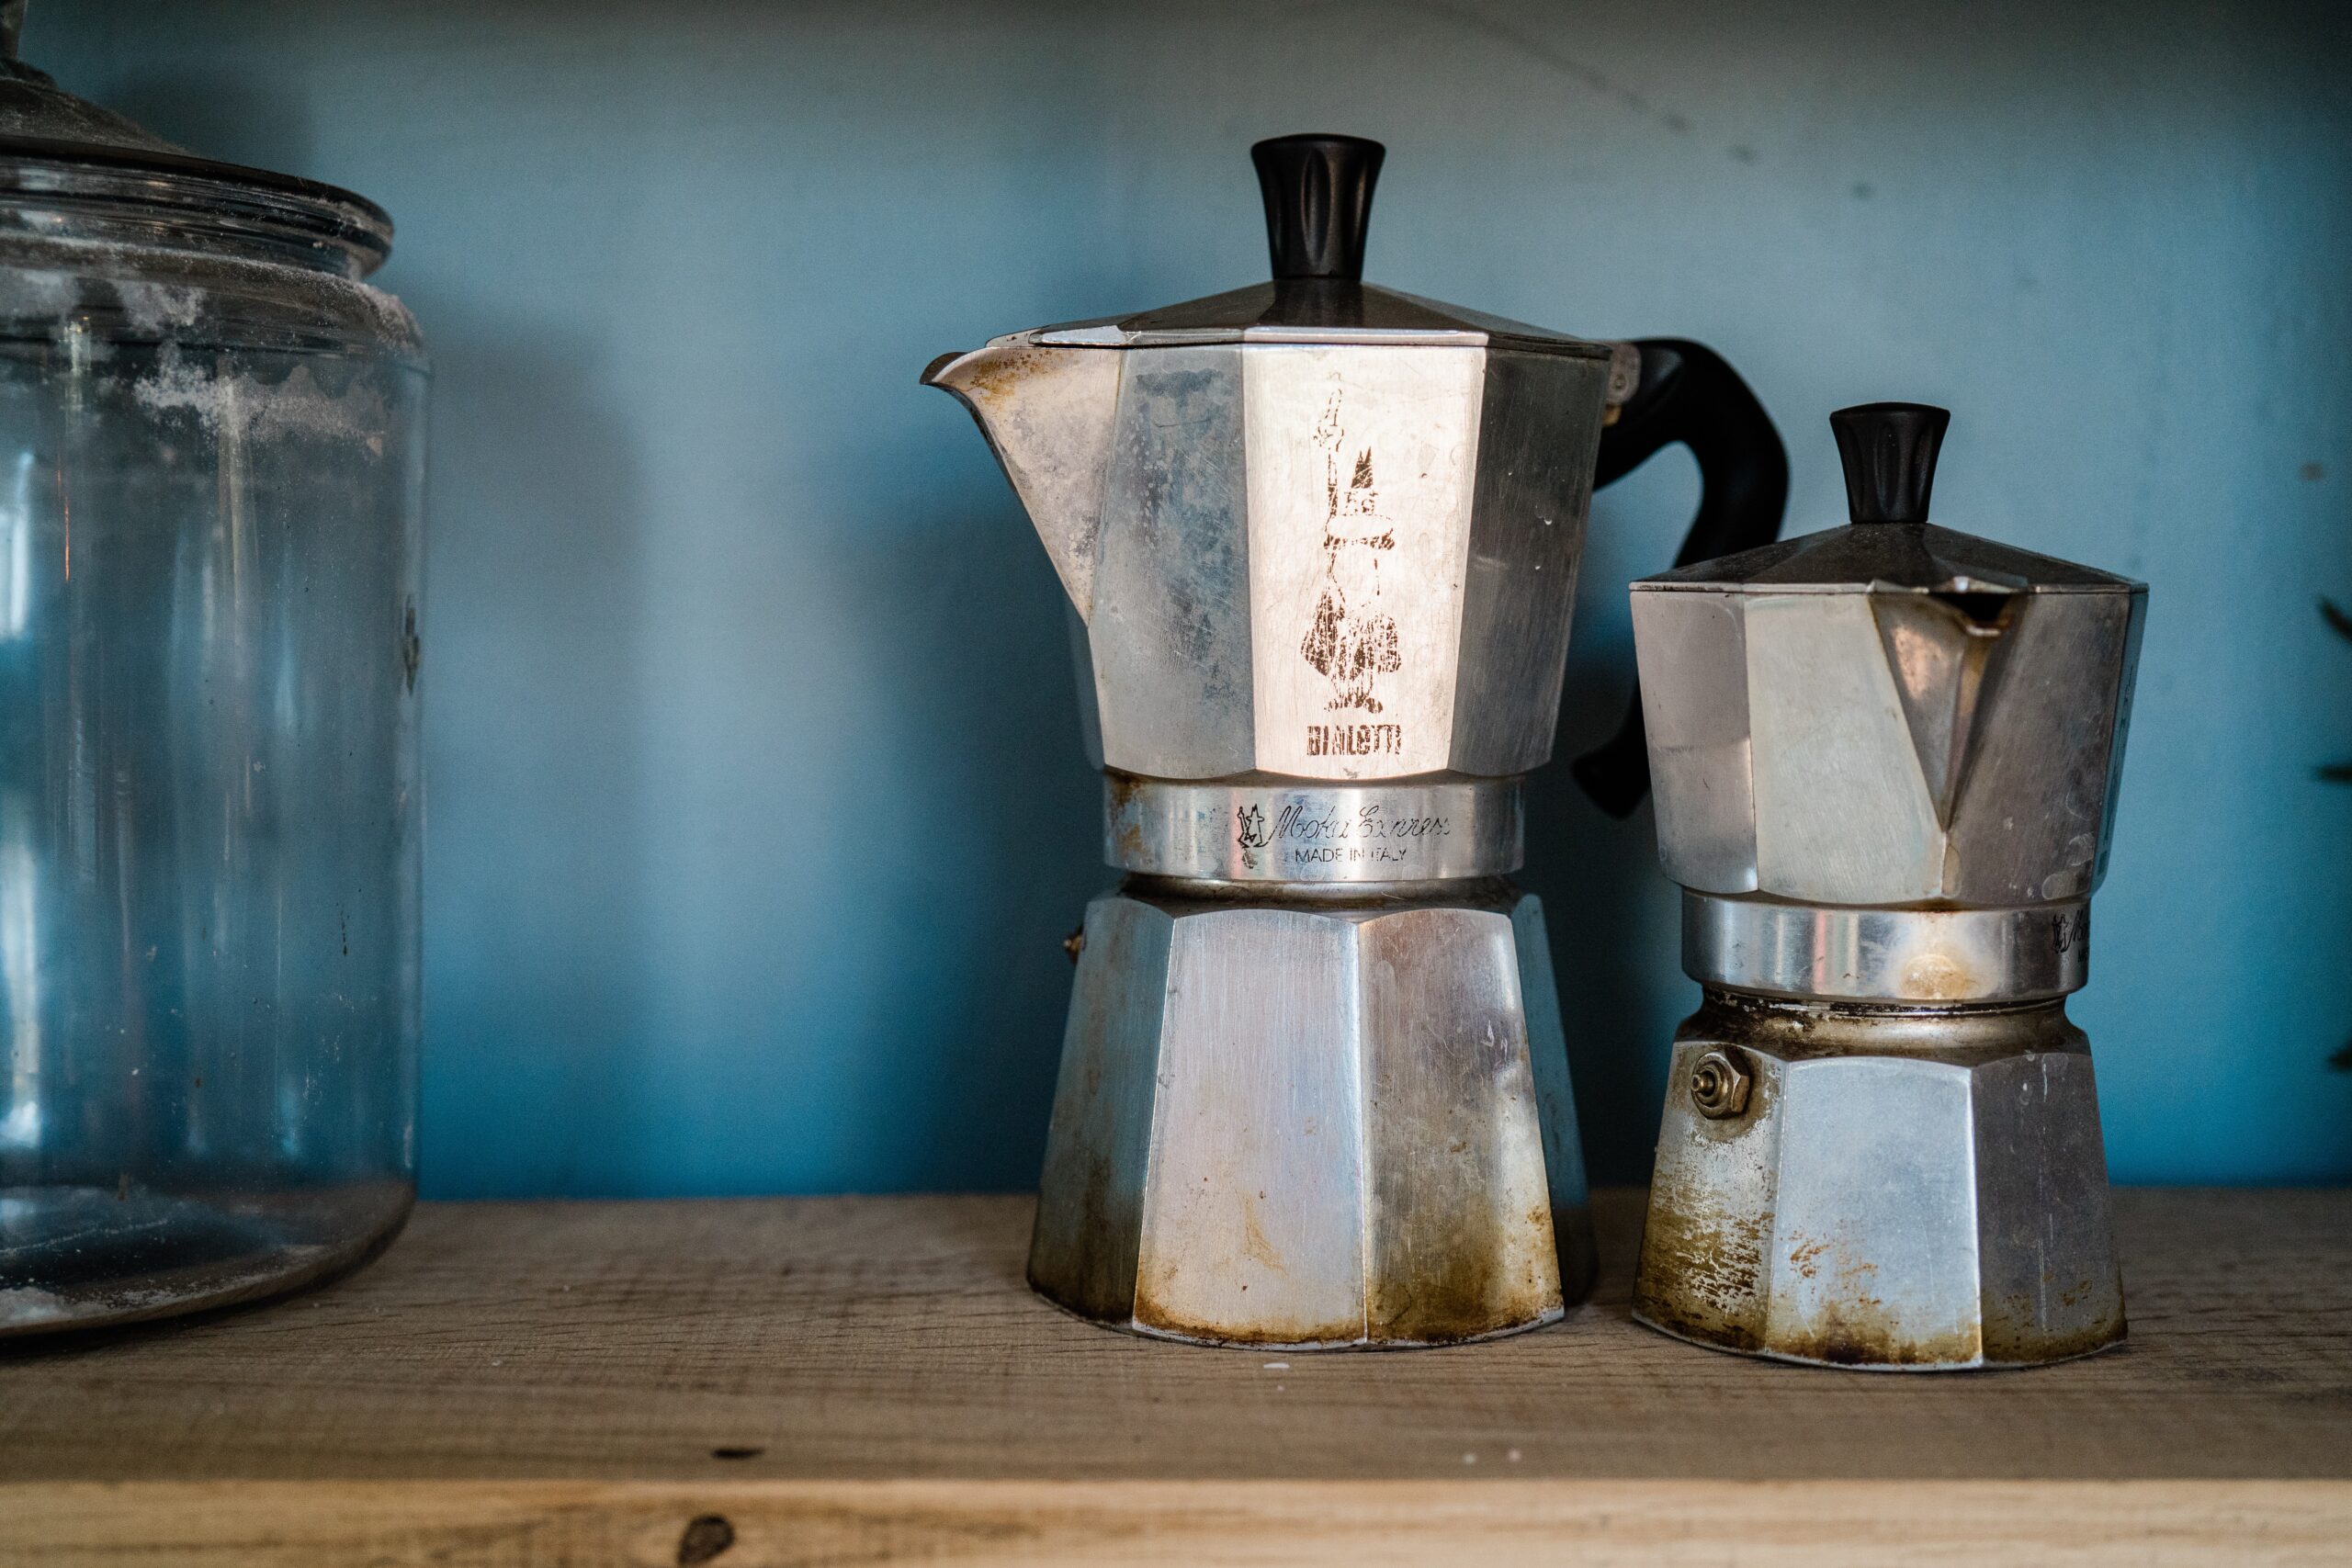
moka pots can be found on every kitchen shelf up to these days
Initially, a new brewing method just bridged the gap between traditional drip coffee and espresso. Later, coffee lovers discovered that the moka pot is actually very versatile. With a certain experimentation, home brewers can use it to recreate most of popular coffee shop drinks.
How it works
The moka pot consists of a bottom chamber that holds water. This chamber has a pressure valve or safety release. However, the pressure buildup during brewing is a result of the design and construction of the moka pot, and it cannot be easily modified or adjusted by rotating the screw. Above the water chamber, there is a funnel-shaped filter basket where the coffee grounds are put.
Soon after a moka pot is placed on a heat source, such as a stovetop burner or an electric stove, the water in the bottom chamber heats up and creates steam. The steam pressure builds up in the chamber, gradually pushing the water through the funnel-shaped filter basket containing the coffee grounds.
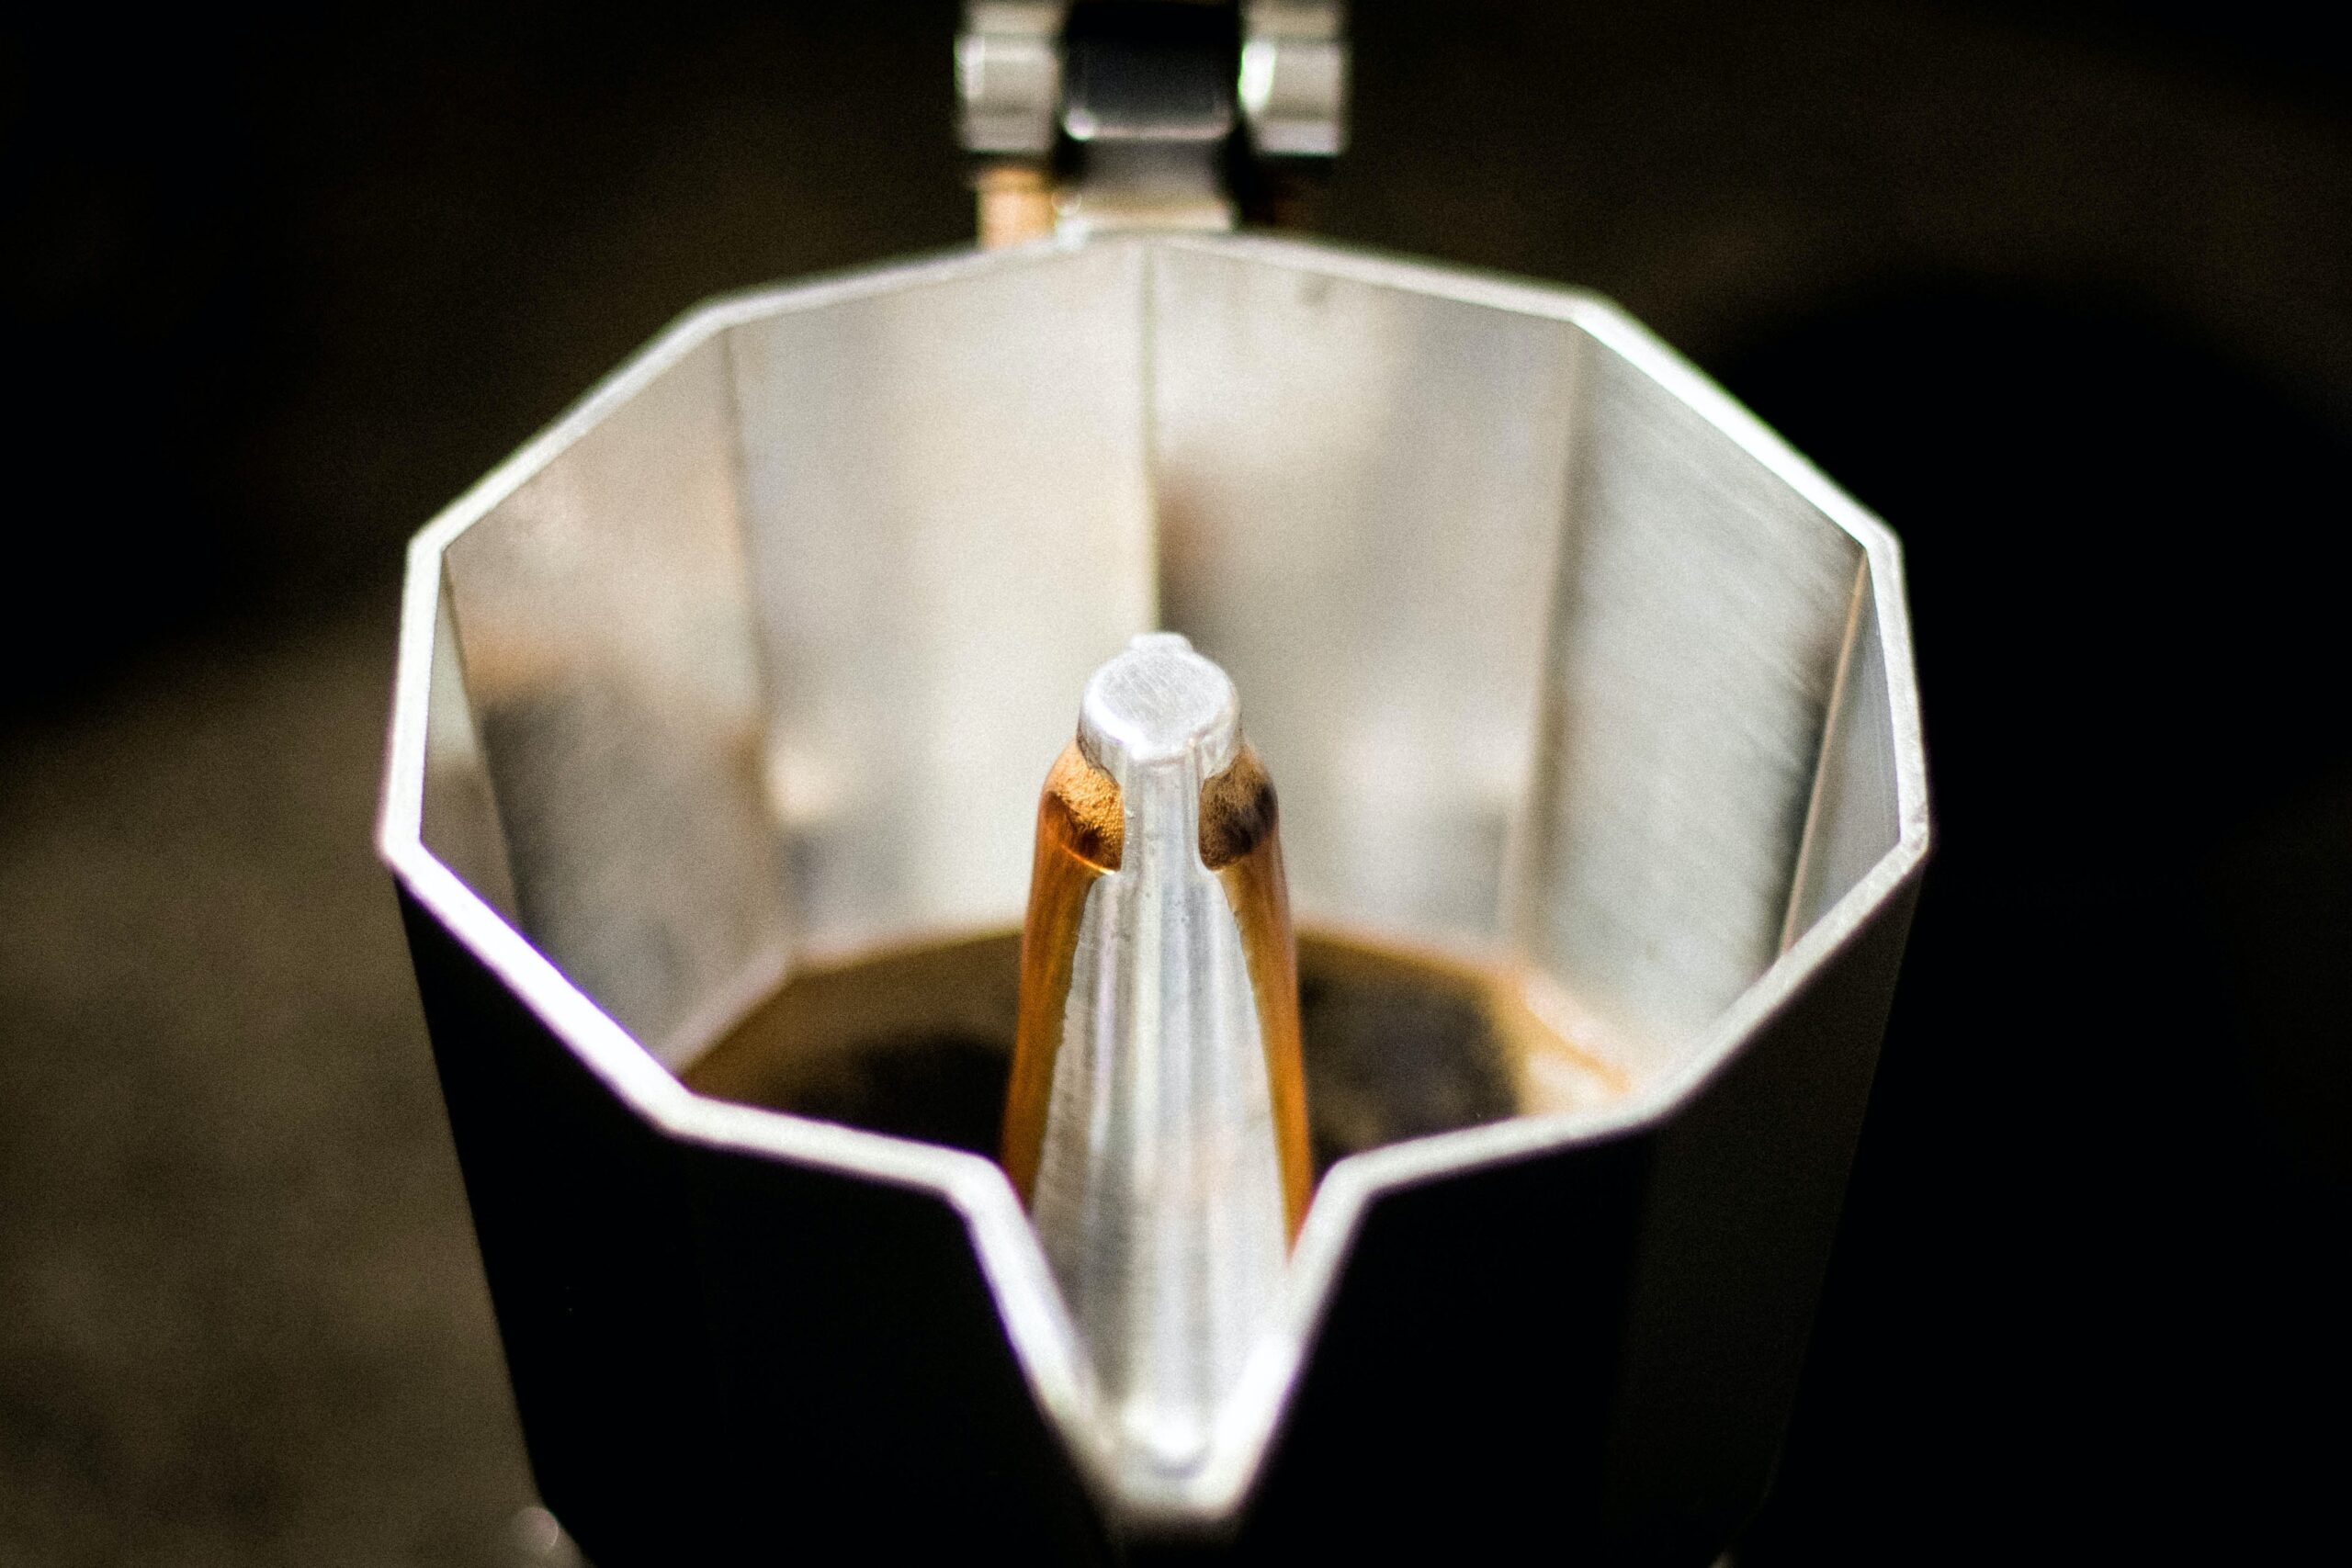
the water runs through the coffee and then collects in the upper chamber
When going through the coffee, the hot water extracts the flavours and oils from it. The brewed coffee then collects in the top chamber of the moka pot.
Let’s make it
Start with following the basic moka pot ratio which ranges from 1:7 to 1:10 to later adjust it more precisely according to your taste. It means that for 250ml (8.5oz) of water you’ll take 25-35gr (0.9-1.2oz) of ground coffee.
Here’s a little tip. Most of moka pots are designed to hold 10 times more water than coffee in the basket.
If you fill the bottom chamber with water to just below the safety valve, and make a full basket of coffee, you’ll automatically get closer to your golden ratio. Some of the water will stay in the bottom chamber.
The main issue with moka pot is that the temperature of the water going through the coffee grounds can get higher than 95 C. It badly affects the enzymes present in coffee. Their contents in beans is largely responsible for the aroma and flavour of the cup.
This is how we eliminate them: fill the bottom chamber with boiling water. Don’t worry: it will cool down a bit before you put the pot on the heat source.
The thing is that extraction starts even before your coffee appears running from the spout. The grounds get into contact with cold water almost instantly.
Make a very fine grind (just like for espresso) to get the best from extraction. The particles should look similar to table salt or powdered sugar.
Using very fine grind also works for proper extraction. If the particles are too big, they will not extract enough, and your cup will taste waterly and burnt.
Insert the filter basket into the bottom chamber and fill it with freshly ground coffee. Level the coffee surface with your finger and tap it gently, avoiding tamping it down firmly.
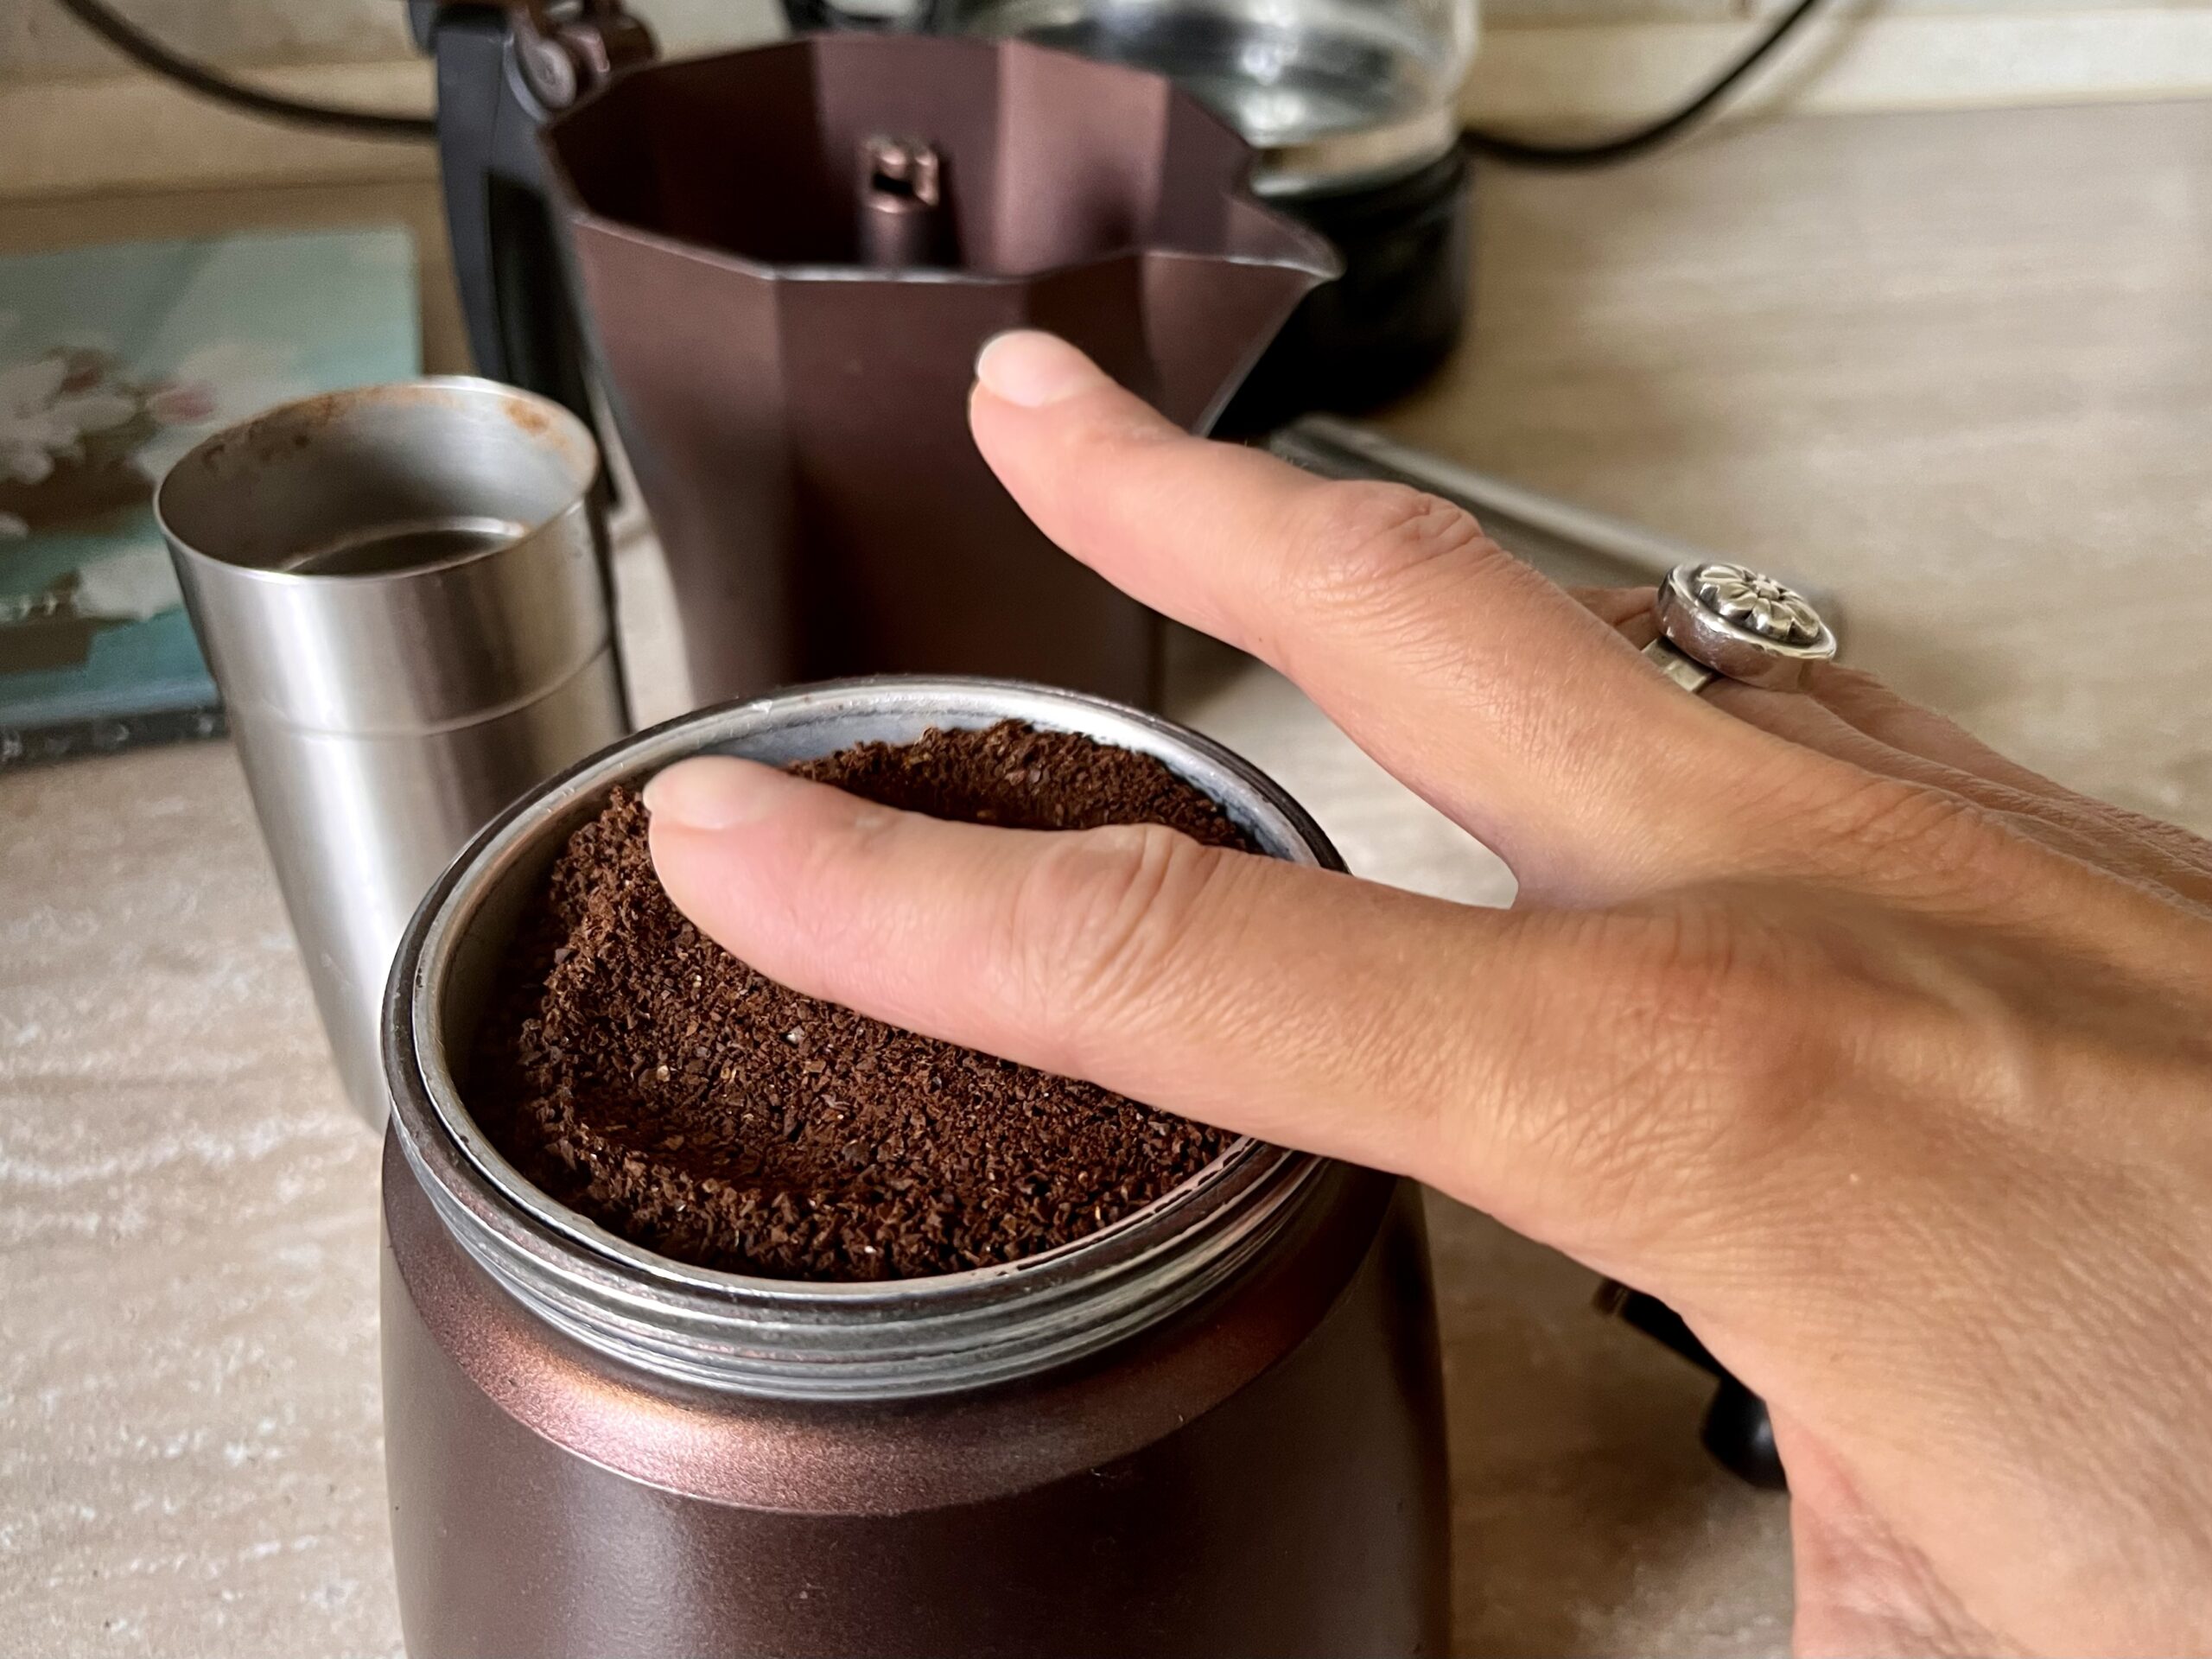
level and then tap the grounds in the basket with your finger
It’s important to distribute the grounds evenly so that the water run through the coffee simultaneously and with the same speed at every part of the coffee puck. This guarantees proper extraction.
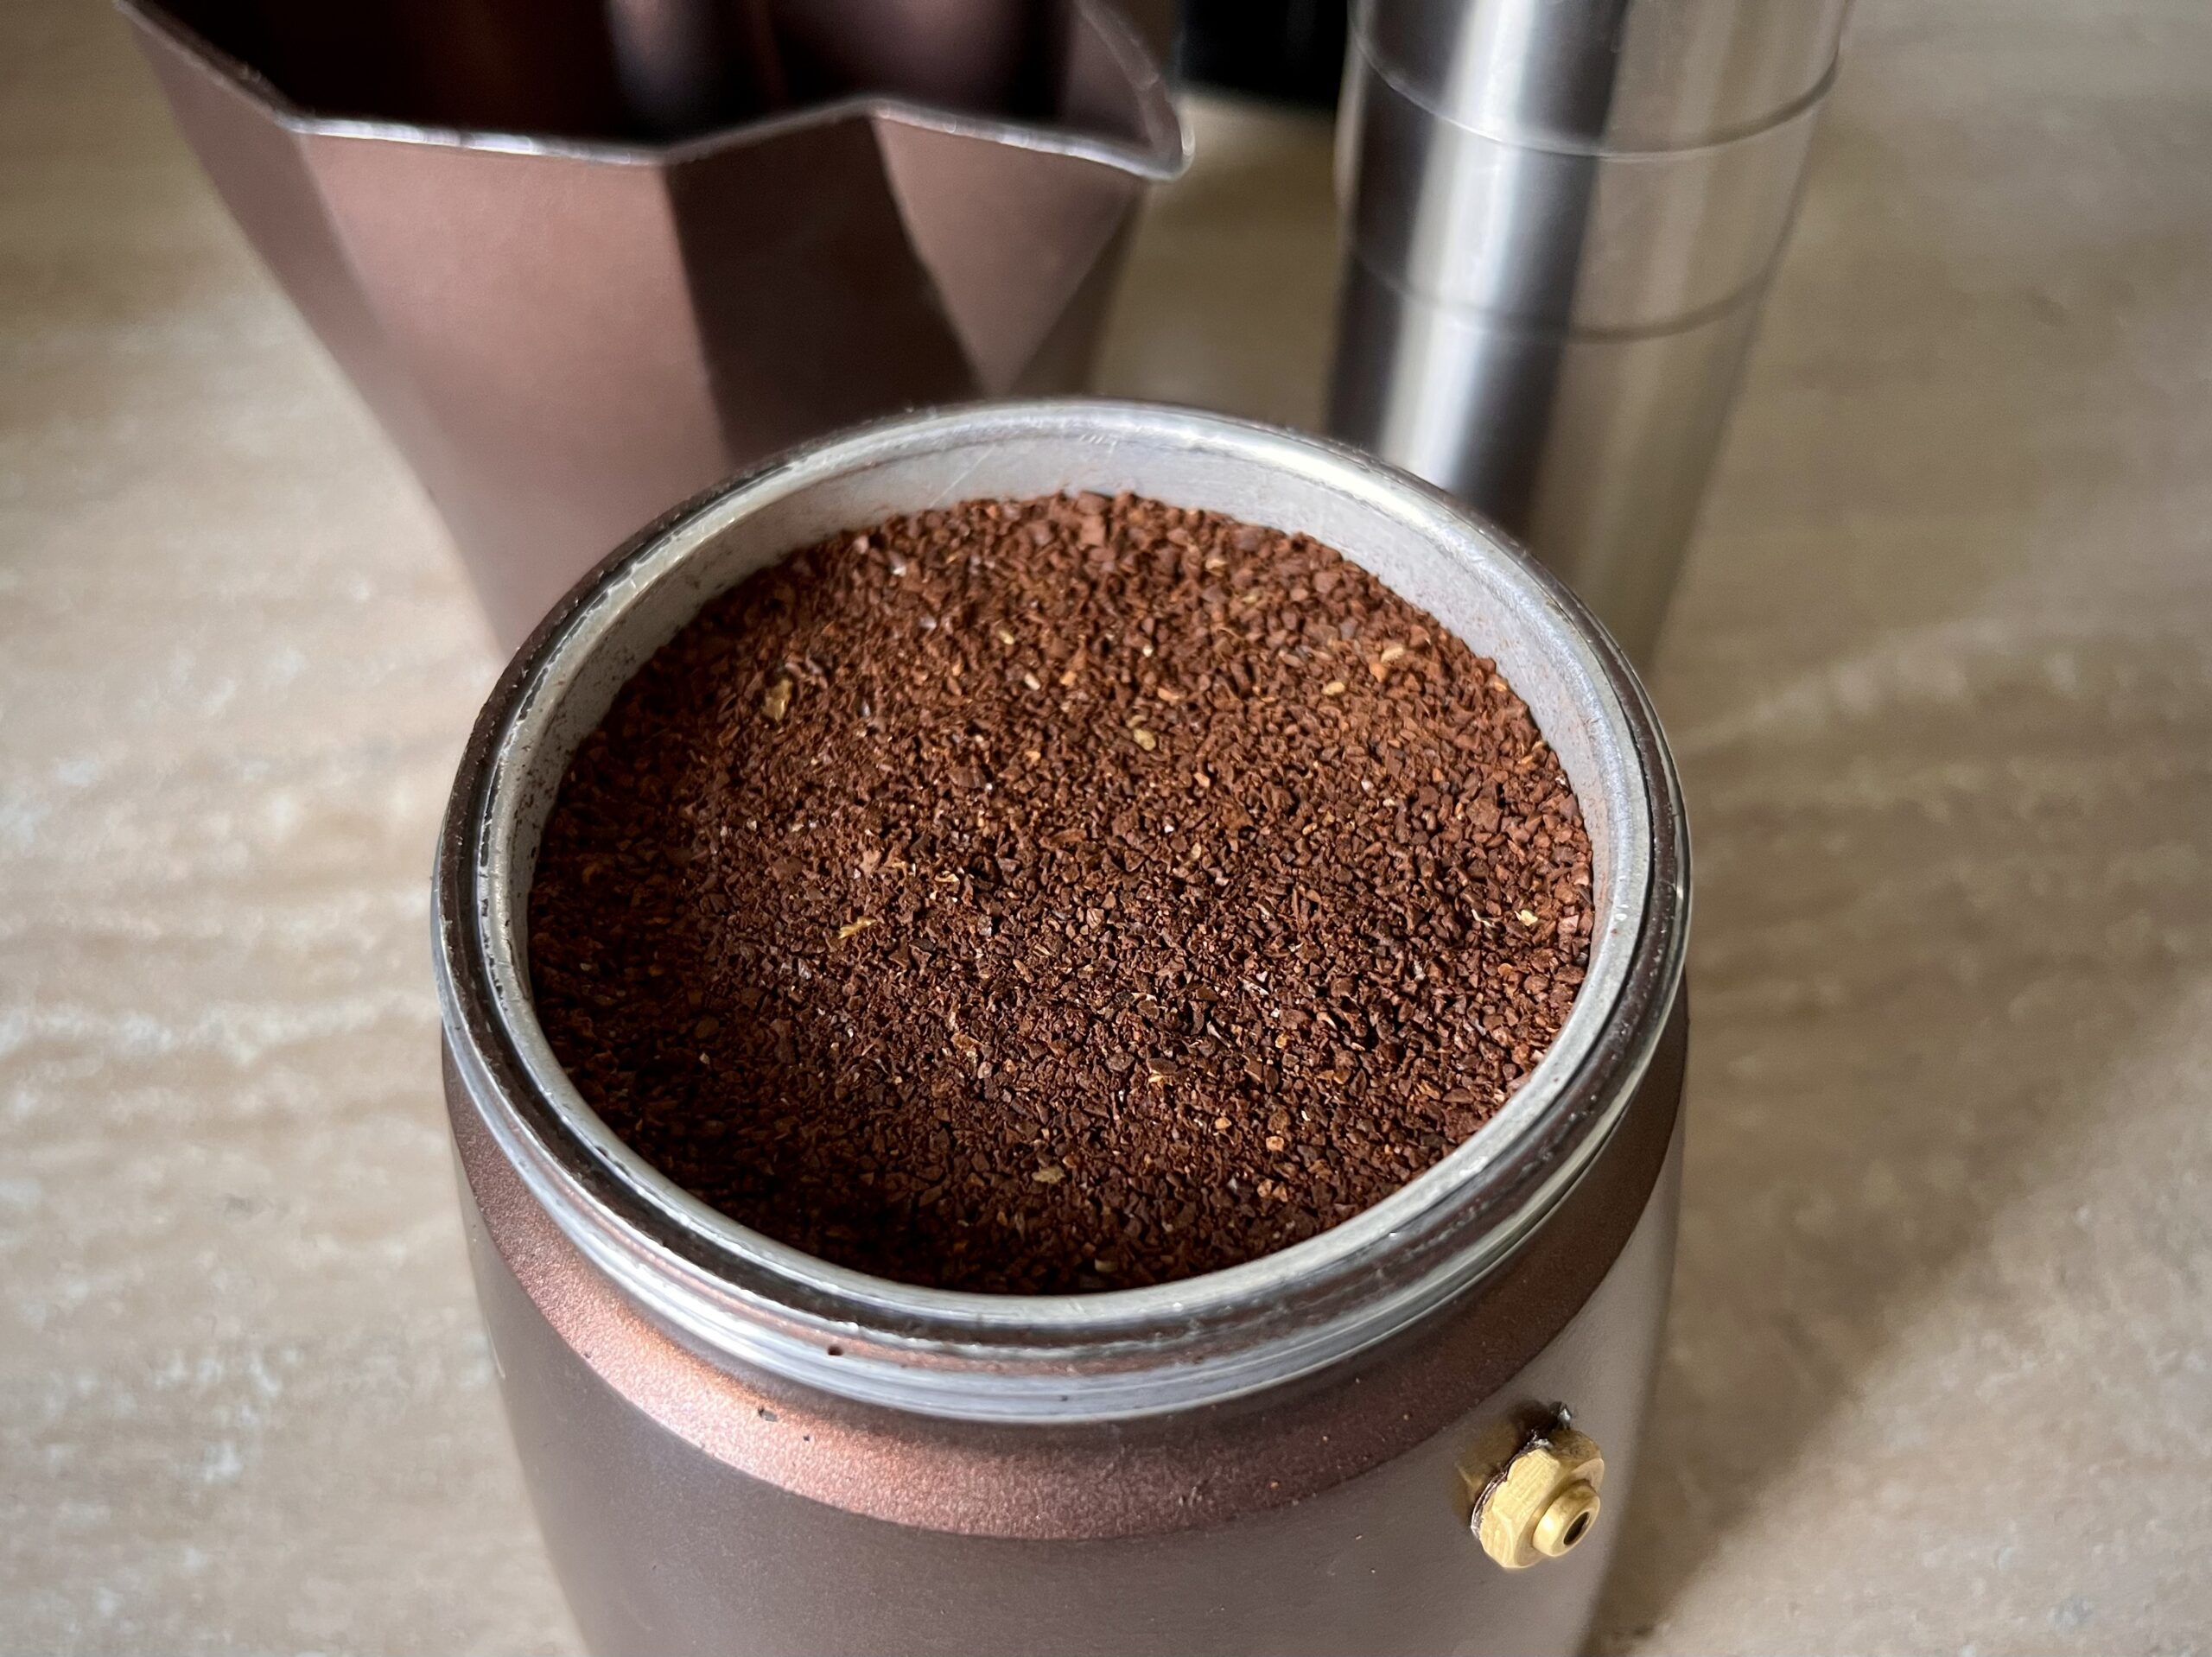
evenly distributed coffee grounds ensure proper extraction
Screw the top chamber tightly onto the bottom chamber. Make sure to use a kitchen towel not to burn yourself.
Place the moka pot on a stove or burner set to the maximum heat. Be careful with the handle: it can’t be directly exposed to the flame or heat source.
As the water heats up and steam pressure builds, you should hear a gentle gurgling and hissing sound. Slightly reduce the heat to maintain a steady but not rapid coffee running.
Too high heat makes the water go through the coffee too fast. It may result in an overly bitter brew.
Now watch your running coffee closely: you should avoid the hot sputtering phase at the end of brewing.
Keep the lid open and keep an eye on your brew. If you let uncondensed steam pass through the coffee, your cup will taste bitter.
It’s easy to tell when it happens: the running coffee gets brighter and starts bubbling. It’s a good idea to take the pot off the heater while the coffee is still of rich-brown colour.
Try to do it before the stream gets the colour of yellow honey to avoid bitterness from over-extraction. You definitely want to take the moka pot off the heat before the intensive spurting and sputtering phase starts.
At this point we need to terminate the process immediately. The fastest way to do it is to immerse your moka pot into a previously prepared pan with cold water. You will hear the hissing sound of the pressure sucking the liquid back to the bottom.
Immediately pour into your cup and enjoy you intense, full-bodied drink.
The moka pot is perfect for recreating espresso-based beverages at home. Diluting it with hot water you get a homemade americano.
Check our recipes for a homemade cappuccino or latte, or flat white.
Pro tips:
- For light roasts (yes, you can brew light roast beans with a moka pot) use 30-40°C. Light roast beans retain more moisture and have a higher density compared to dark roast beans. More brew time is needed for the beans to extract properly.
- If you use too high heat, it will push dirty grinds through the filter, and your cup will not be as clean.
- Use a filter for aeropress for a cleaner drink. Just rinse it in water and stick to the metal filter at the bottom of the upper chamber.
Following these tips ensures optimal extraction and flavour development. You can always play a bit with the parameters, adjusting them according to your taste. For example, you can start a stopwatch when the coffee starts going out and measure it. Make it 10 seconds shorter for your next brew and compare the results.